So here's a guided tour of how to really use PowerUp to get things done.
First, think of four things you'd like to get done today. Just four. Start small. Besides, most people are lucky to get one thing done in a day, much less four. So pick your four things.
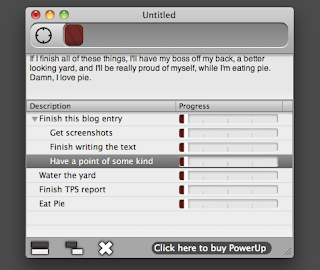
Open PowerUp and add them to the main list. Hit command+return after each item, to add one. In this case, I'm going to act like I have four very different things to do today.
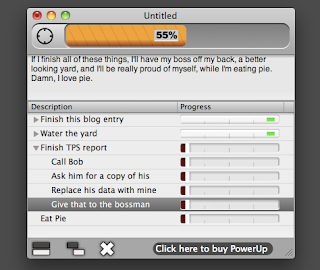
Now I'm going to add some notes at the top about why I want to do this. This is an important step, because having a good reason to do something will keep you motivated.
Since no one else will see this, feel free to list your real motivations here ("...so I can get some peace and quiet...") instead of what you'd probably tell other people ("... to empower myself and have an inspirational day...").
Next, flesh out the list of four things...
Again, be personal. This list won't do you any good if it reads like a self-help book.
And frankly, this is far enough for now.
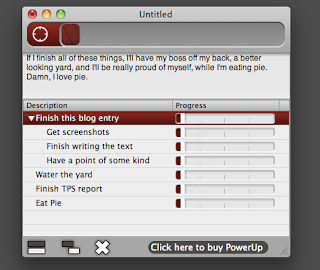
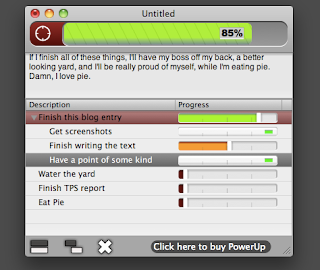
Go ahead and start working on that first thing. Flesh it out more if you need to. Click on the first main item, and then click on the focus icon at the top of the window.
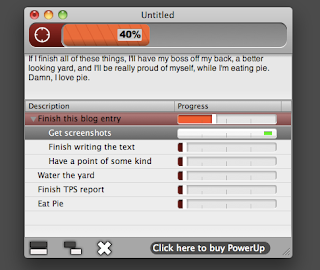
Now the main progress bar will only show the progress for the current item, and items under it.
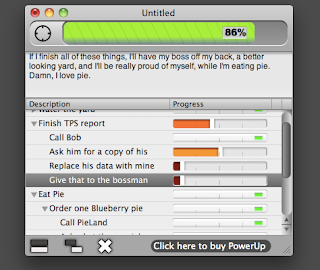
As you check these items off, the main progress bar will fill.
As you do the things on the list, come back to it and check them off. See that progress bar moving at the top? That's what getting things done looks like.
Now get to the rest. If you run into problems, flesh out the details, and do smaller pieces. Move around your list if you have to.
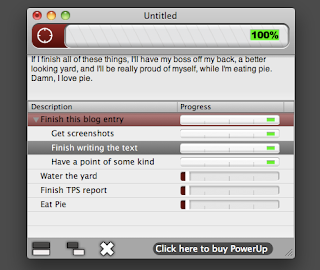
Pretty soon, you'll be done with this item.
Savor the moment for a bit. Go get a drink, walk around for a few minutes, and generally try to unwind.
Now click the Focus Mode button again so it will show progress for everything.
And proceed to the next item on your list.
If it's something you've been putting off for awhile, flesh it out as much as you can.
Even if there are mundane details that should be lumped together, put them down.
Now go do as many of them as you can. When you're done, return to the list, and check those off.
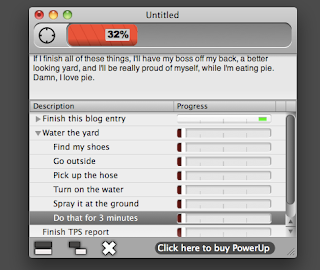
Very good! You're over half done with things now. Let's move on to the next one and flesh those out.
Again, be honest with yourself about the steps you need to take.
As long as you don't show this to anyone, you're fine.
Being realistic with yourself is the only way to really get the job done.
Eeek. Bob's in a meeting and the boss just walked away from his desk. Well, let's move on then.
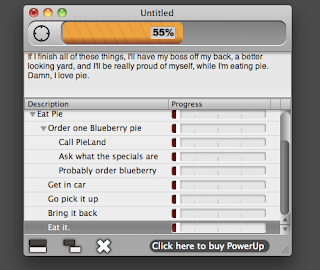
This sounds like a great time for PIE!
Again, be honest with yourself. Some tasks seem hard simply because you haven't done them yet.
And in those cases, the simpler you make the steps, the more likely you'll get the job actually started.
And then, you're well on your way to having it done.
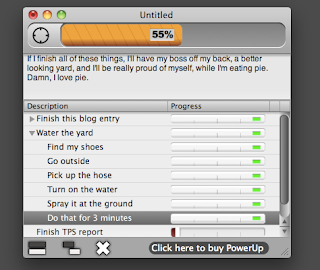
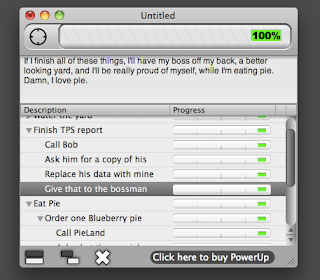
Fantastic. Now let's get this last little batch of stuff done. If you haven't noticed, we're not removing things from our list. We're keeping them there. And, this is by design.
When you're trying to stay motivated...
a long list of mostly finished tasks is MUCH more powerful than a short list of completely unfinished tasks.
Success!
Now, all four things you set out to do, are done.
That's probably more than you did yesterday, and you have the whole rest of the day left!
So go do something unproductive! :-D
